Tuesday 13 March 2012

building the foley for dead by alliance


My job role in post production was to build the foley for our thriller opening dead by alliance.

Wednesday 22 February 2012

Where i am at............

Okay so as a group filming our thriller as been a struggle and will be until the deadline which is fast approaching us next friday!!! Luckily we are still standing and hopefully we will face no more problems!

Anyway I though I would talk about my individual edit and what i've learnt on final cut pro.


(photos wont upload to be completed at school....)

Friday 16 December 2011

9 frame analysis on The Happening

 This is the title of the movie. Here you can get an idea of what the movie is about as you can see the clouds and the film is about an organism being carried by the wind.
 This is where the concept of the movie starts, its just a normal day and everyone is milling about in the park. This is a wide shot.
 Here are 2 characters who we see first get hit by the organism. They had a conversation and then one gets 'possessed'. This is a wide shot.
 Here you see all the people in the park after the wind has come across them and they freeze. This is a wide shot.
 Here again is where the wind will hit next. This is a wide shot.
 Here you can see someone who has killed themselves by jumping from the building in photo above. This is a mid close up.
 Here are more people doing the same as the person above. This is a long shot.
 Here  is where the main characters get introduced this is a mid close up.
This is again one of the main characters and this is a close up.

Friday 9 December 2011

BFI - The 10 steps to success

Step 1 - Take Stock
Whats the task?
Whats the assessment?
Whats the timeframe?
Whats the equipment?
Task and Assessment
  • Titles Opening
  • Up to 2 minutes below 3 minutes
  • 20 marks for researching and planning
  • 60 marks construction
  • 20 marks evaluation
The Time Frame and Equipment
  • Build your skills
  • Build up your research
  • Build up your planning

Step 2 - Set up a blog
Keep evidencce of everything you do

Step 3 - Build up skills
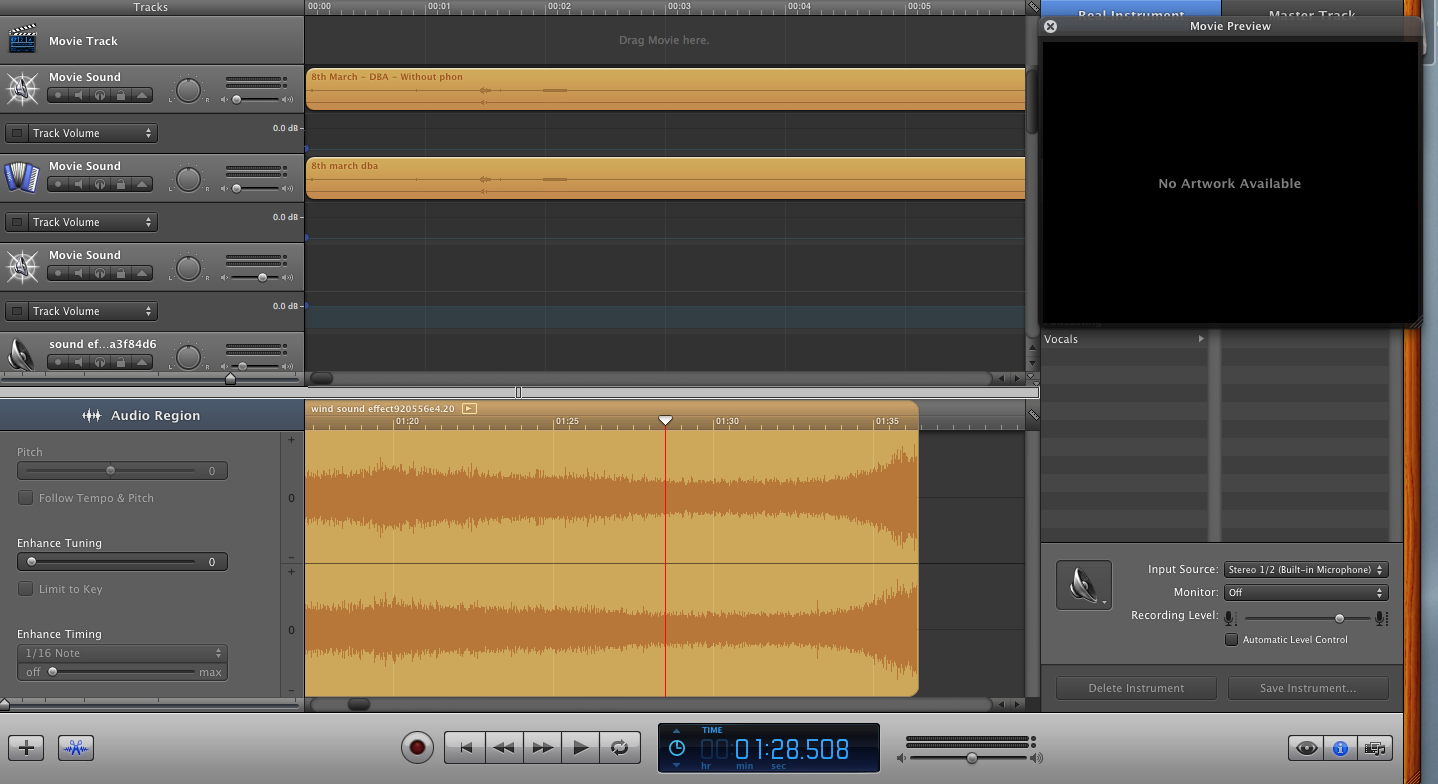
Sound
Camera Work
Editing

PRELIM
15 mars for showing prelim but it doesnt have to be good

REMAKE
Helps to build up your skills - camera, editing and matching sound.

Step 4 - Investigate
What do film openings look like?
What does other students work look like?

Step 5 - Brainstorming
Possible scenairos for pitches
25 word pitch
Moodboard treatment
Peer and teacher feedback
Realsitic expectations - keep it simple
Know the film but make the opening

Step 6 - Planning
Experiment with equipment
Test shots of locations
Examples of costumes, props and upload onto blog
Make a storyboard, moodboard and a anomatic
Logistics planning and risk assessment

Step 7 - The Shoot
The people, places, props and costume.
Rehearsing
Equipment and jobs that need doing on day.
Keeping record of the process and photos of everyone in action.

Step 8 - Edit
All having a voice and hand in filming and editing
Screen grabs of the process
Importance of audio and titles
Foley and not just music
Rough cut feedback anf peer feedback
An idea of the big picture before all the fine detail.

Step 9 - Evaluation
Seven question becomes seven tasks


Suggested
9 frama analysis
Split screen comparison
Voiceover or distribution
Ideal target audience

Common Problems
Looks like a trailer or a short film
Insufficient titles
Poor sound and poor lighting
Confusing for the viewer

Key Advice
Plan for everything
Keep all the evidence
Avoid the obvious
Pay attention to the details
Make blog varied
Learn from other work

BFI Trip - What I learned

In the opening to films we should understand the genre, narrative, character, atmoshpere and the setting. This is what we should aim to achieve in out own thriller opening. We should aim to give a sense of whats happenig without giving too much away.
When we edit the piece we should aim to layer as many sounds as possible to create a better effect.
We should try to intergrate the the titles and the fiml together and an idea of the characters, some ways of doing this would to be play around with the focus or change around the depth of field. We should also begin the build up of tension in the films title.

Speaker - Visual Effects
All movies now made have their titles made using digital effects.
The open credits - Begining of film
End credits - End of film
Roller credits - End role up - The eend role up
The opening comes before the titles

The title sequence should tell you the back story of the characters and introduce the characters.

Speaker - Dexter Flether Actor/Director
You should aim to get the audiences attention on the opening of the film and not on the titles.
Establishing shots should be used on the main character. This will allow the audience to know who the journey is going to be with.
Also a good effect to use in the filming to to create thriller tension is quick images and moments.
A good idea whilst still in the planning stage is to get trusted opions on work some tweake may be neeeded to improve the work that you didnt notice. Also all shots should be shot near main location as it makes it easier to move the filming equipment and actors around.
A good note was to find the location before finalising the script as the script may be needed to be changed or adapted to suit the location.
A good planning idea was to make a scedule and keep to it, it will help get the filming done.
In the opening the characters need to be defined so the audience knows who they are.
You also need to plan how your going to tell the story and present the character.
A note on foley which was helpful was to make your own and not spend ages trawling the internet to find a suitable match.

Sunday 27 November 2011

what we learnt this week

This week we learnt what an asset list is. We used the asset list to make notes on what props and costume we would need to use on the parity remake. I found using the asset list helpful as you used the different sections for different aspects used when planning for filming. I found it helped to seperate all the key aspects instead of writing them in a contiuel list and becoming muddled and finding it hard to find a certai item, this way you just look under the heading you need and will find it in no time.

Remakes

The dexter remake was eventful, hard but fun. As a group we decided that this would be the best one to tackle as it seemed to be the more diffucult to shoot and edit and we wanted the challenge. I think the finished product of dexter is really good (can be found on the groups blog) and allowed us to put our knowledge of using final cut pro to the test! This also allowed us to see the mistakes we made and hopefully learn from them in timefor the shooting for out thriller opening which we are hopefully going to shoot in the december holidays.

The Parity remake was surprisingly harder than the dexter remake. The shots were harder and the editing the students did to their work was outstaning and editing to match their work is going to be challenge, one as a group we are prepared to do our best at and hopefully achieve the same level greatness they did if not well then we shall have to work that bit harder to achieve a great grade like the one they so obviously achieved.